Recently i started working with Lino again, after some issues with my screen printing set up not working well with my new apartment in the Isle of Man.
So Yeh i hadn't done this since my first year of Uni, and apparently this was a lot longer time ago than i realised. So I use tumblr almost constantly, so if you follow me on there you will get the WIP process as it happens, This is usually done through Instagram as well. I only ever post to Blogger a wee time after everything's done.
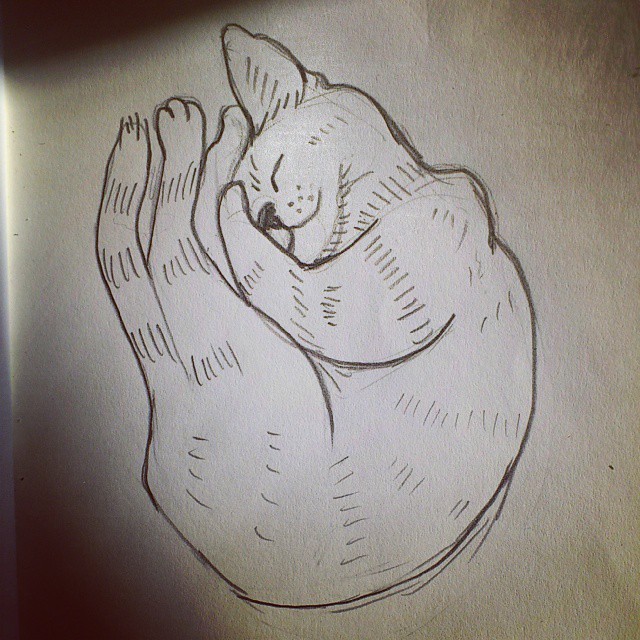
So right, this lino cut; here's the initial sketch
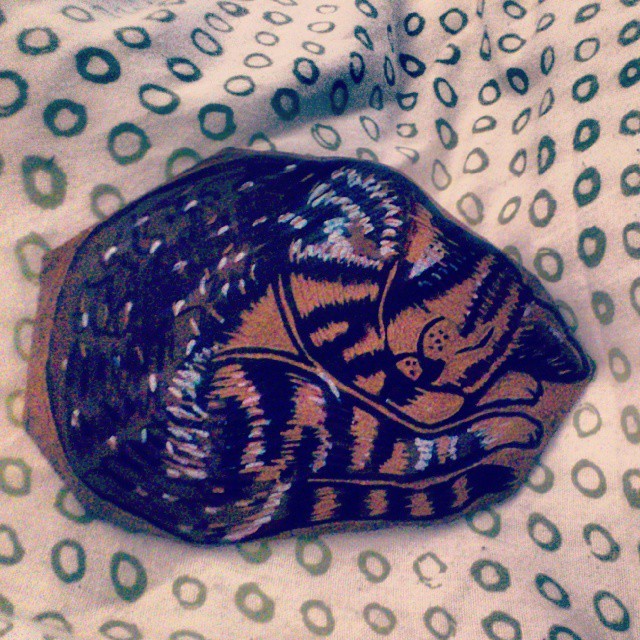
And here is that loosely translated on to lino:
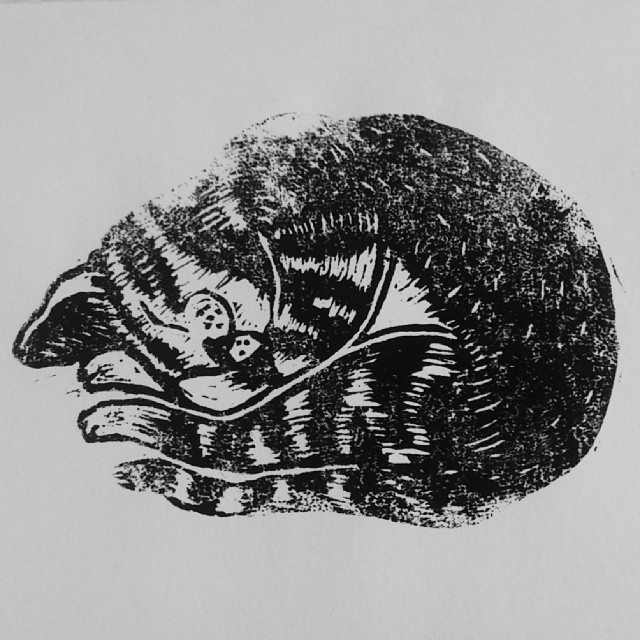
By the way i made a big mistake of using permanent marker on brown lino. It appears that if you are using waterbased inks, it's best to avoid as it adds a greasy residue onto the surface of the lino that makes the ink 'salt' and bubble up and not print a perfectly smooth black finish.
Here is an example of this:
I thought it was because i needed a new roller, the brayer i was using for some reason when i was still at uni, i thought it would be clever to roll acrylic with it and not wash it off instantly. This resulted in a weird acrylic paint texture to it. I really really don't advise this! So that roller got demoted to rolling the back of lino and that's it. Had to buy a new one.
This is the one i got, for some reason i went for a 2" one, i guess at the moment i'm working small out of fear of wasting lino, so a smaller roller seemed the best choice, and they're easier to store, and less cumbersome. i kept making a mess with my old 4" going over the sides.
So after asking around a fair amount to print makers i know and randoms on the internet i realised that it might be the permanent marker, so first thing i tried was white spirit to dissolve it. it worked a bit. But it was still really evident. I started applying loads more ink to the plate as well, and this helped. At this point i realised that print making is practicality 99% trial and error. So i has no other option at this point i had to literally sanded it down lightly. This i can assure you was terrifying.
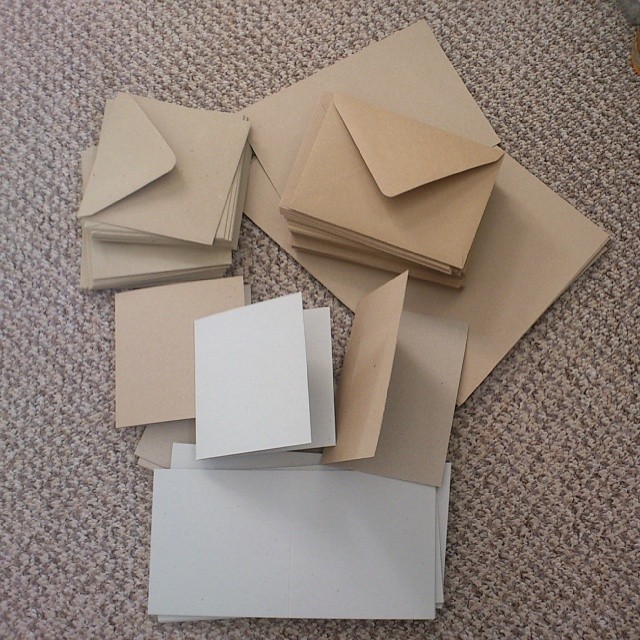
But it kinda worked., i felt that the image didn't warrant 100% perfect coverage as it actually added to the fur texture, i was happy to start printing, i chose 100% recycled brown and 'eco-natural' card to print on.
And my living-room temporarily turned into a drying rack
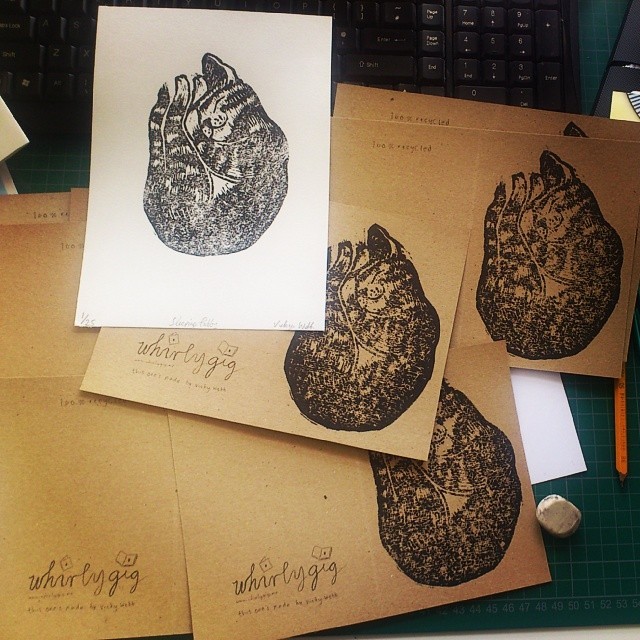
I printed a run of 25 on brown card stock, and a run of 25 on a beautiful 160gsm fine grain cartridge paper A5 with a large boarder.
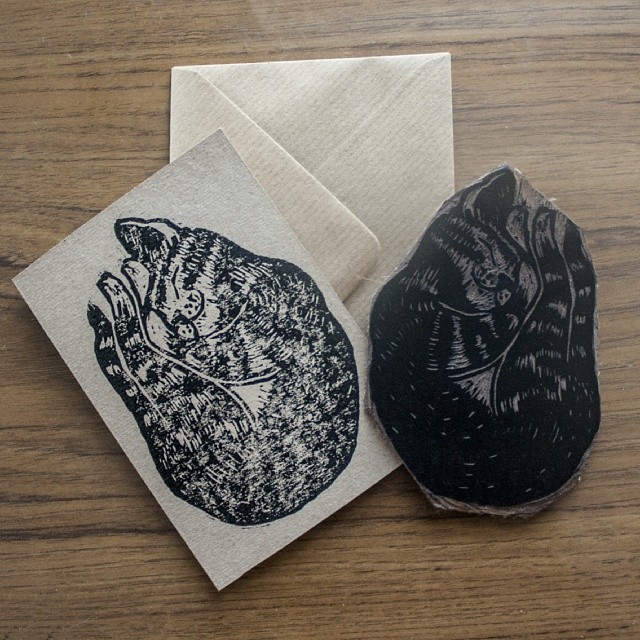

You can see here on the back i added my information and a note of "100% recycled". This was simply done with my ink jet printer
The greetings cards are available from my big cartel, but they are limited I may do additional runs on different substrates in the future. If there is demand.
I really enjoyed getting back into lino, and since cutting this, I've actually done a load more stamps that i'm using for my personal Christmas projects. These will go on sale next October/November (2014). (so as not to spoil anything for my friends and family :) )



No comments:
Post a Comment